The French Braid Is Making Moves to Become Autumn's Biggest Hairstyle Trend—Here's How to Do It
It's surprisingly easy.
Welcome to How to Hair. Think of this series as your go-to guide to achieve your best hair yet. Whether you want to master a certain hair tool, work out how to wear a new hairstyle or if you're just in need of some hair inspiration, our beauty editor Eleanor Vousden is here to talk you through what you need to know, step-by-step, with plenty of insider intel along the way. Allow How to Hair to become your trusted guide on the journey to great hair days—every day.
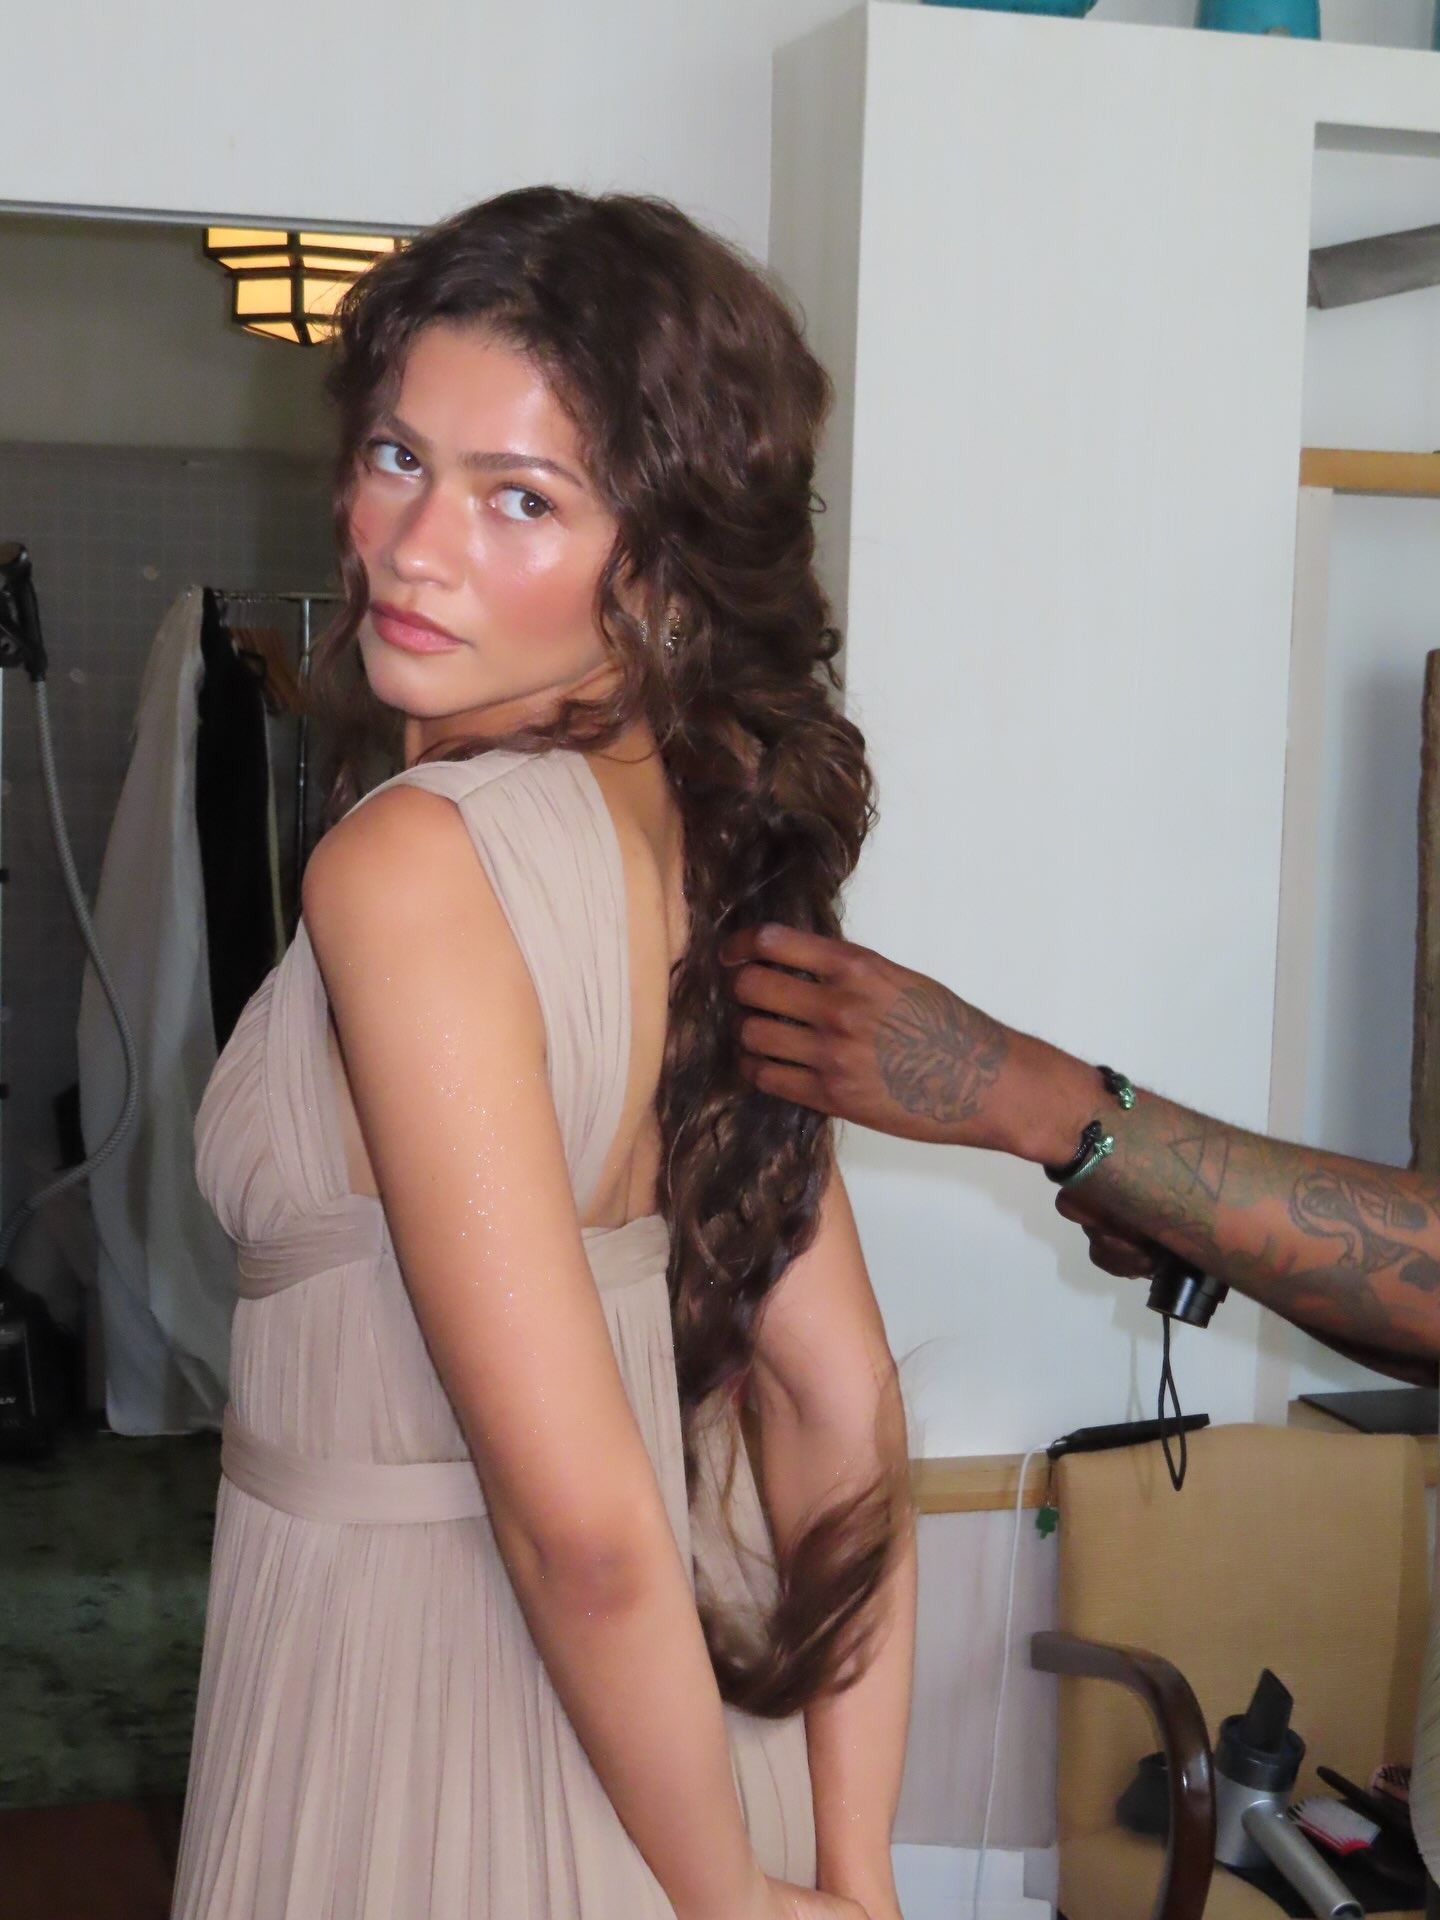
First came Zendaya's ethereal Athena-coded fishtail braid at The Odyssey premiere. Next came Ella Rubin's Sterling Point French braid. Then, I spotted Gigi Hadid wearing the classic hairstyle. If the premieres, TV shows and the tastemakers on my feeds are anything to go by, then this hairstyle is firmly back as a defining autumn 2026 hair trend.
Despite its name, the French braid doesn't actually originate from France. The very first depiction of braids has deep roots in North Africa, where ancient stone paintings depict braiding techniques going back thousands of years, which were used to signify age, identity, social rank and marital status. The "French braid" is believed to have been popularised within Western media in the 19th century.
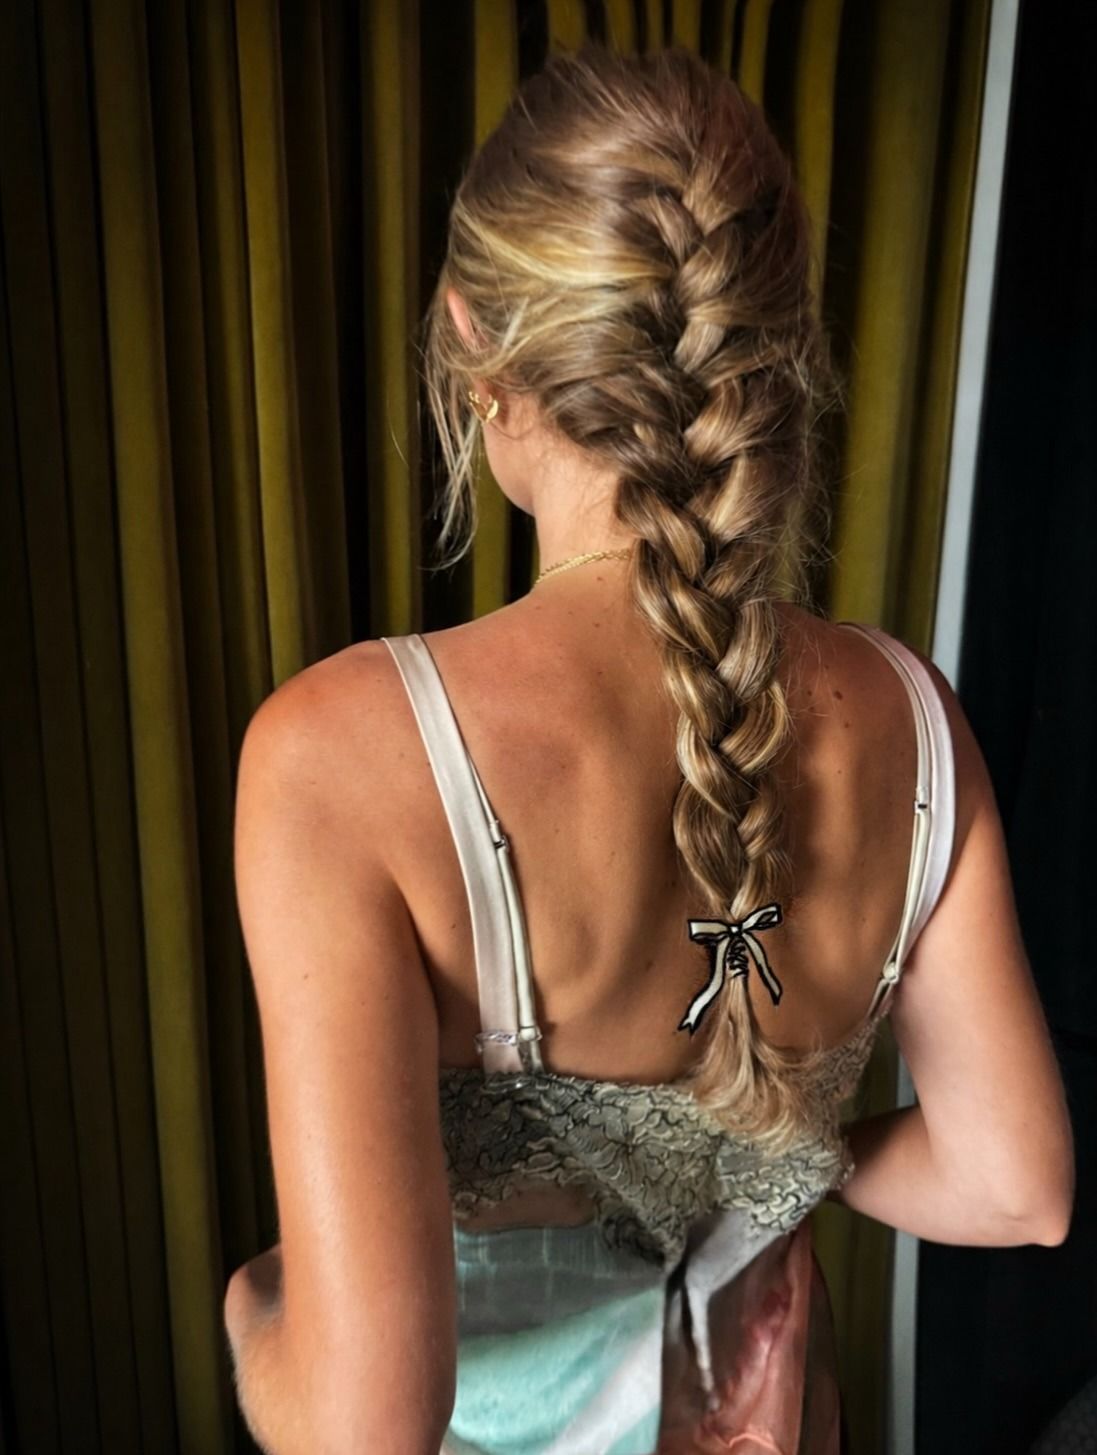
The three-stranded hairstyle begins at the crown and weaves down, sitting close to the head as pieces of hair are gradually added into each section. The French braid involves the plaits crossing over the middle section, alternating from left to right, whereas a Dutch braid involves the sections moving under the middle section, which results in a more voluminous braid, whilst the French braid sits closer to the head.
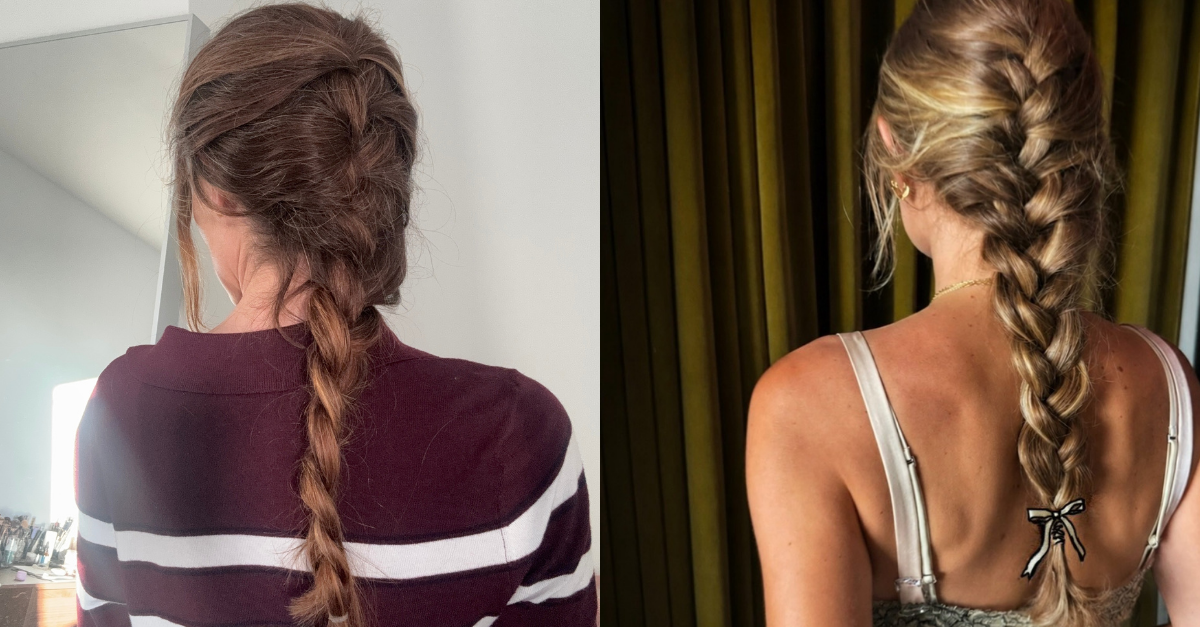
Whilst it might look and sound a bit complicated, thankfully, this hairstyle is actually quite easy to replicate with a bit of practice (and a bit of an arm workout), and if you can already do a simple plait, then a French braid only takes one simple addition to the method. I'm notoriously cack-handed when it comes to styling my hair beyond a simple ponytail or slicked-back bun. So if I can do it, you can do it. Scroll on for the step-by-step guide to a French braid.
1. Prep Hair
Firstly, I'd recommend doing a French braid on second-day hair, especially if you have straight or slippery hair, as this will help to give your braid more grip. So skip the shampoo. However, you can also mist in some texturising spray to help create better hold, or those with straight hair can use a curling wand to curl the hair, which will create more volume, texture and hold. If you have natural curls or waves, then you may find your hair has enough hold to forgo additional product.
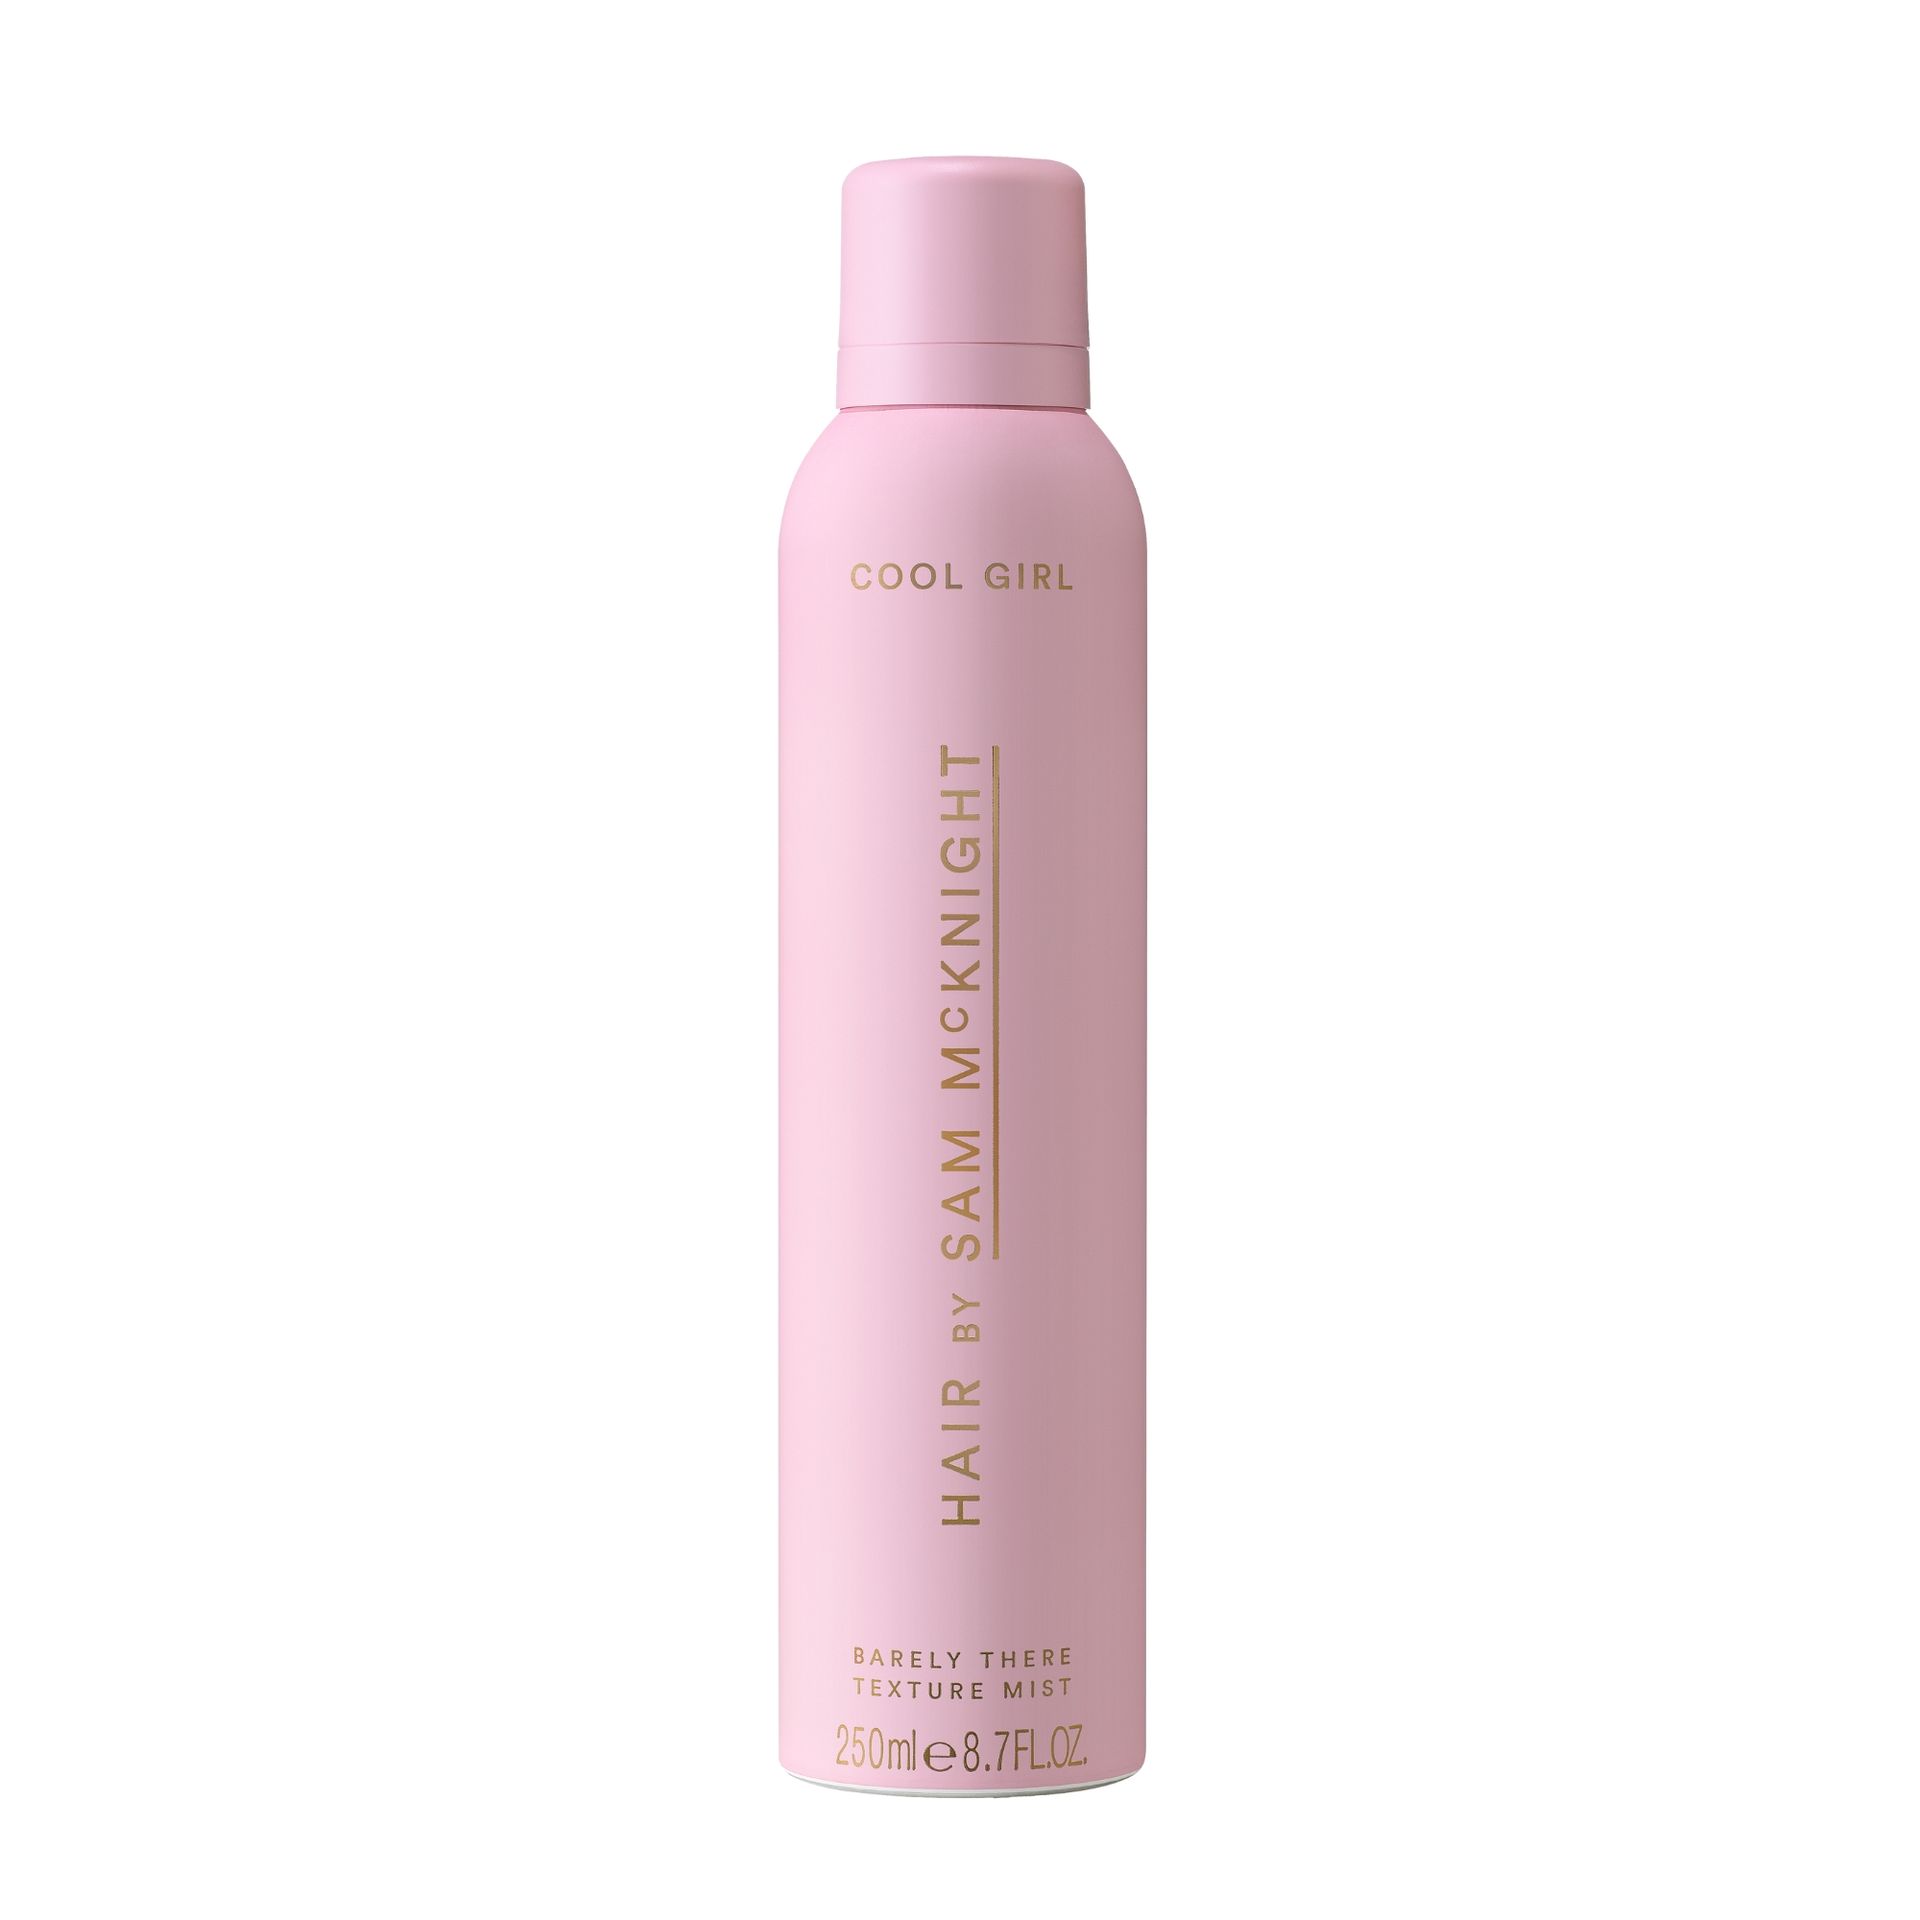
Hair by Sam McKnight
Cool Girl Texture Hair Mist
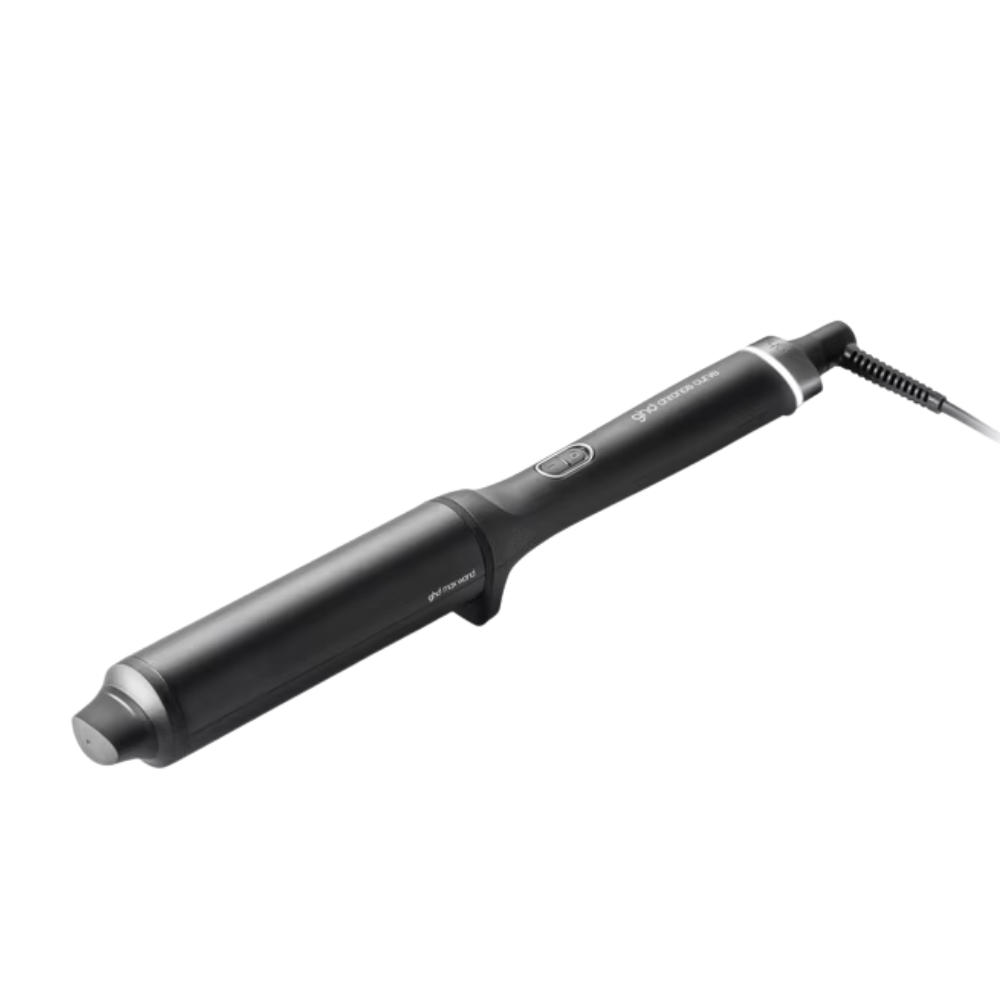
GHD
Chronos Curve Max Wand
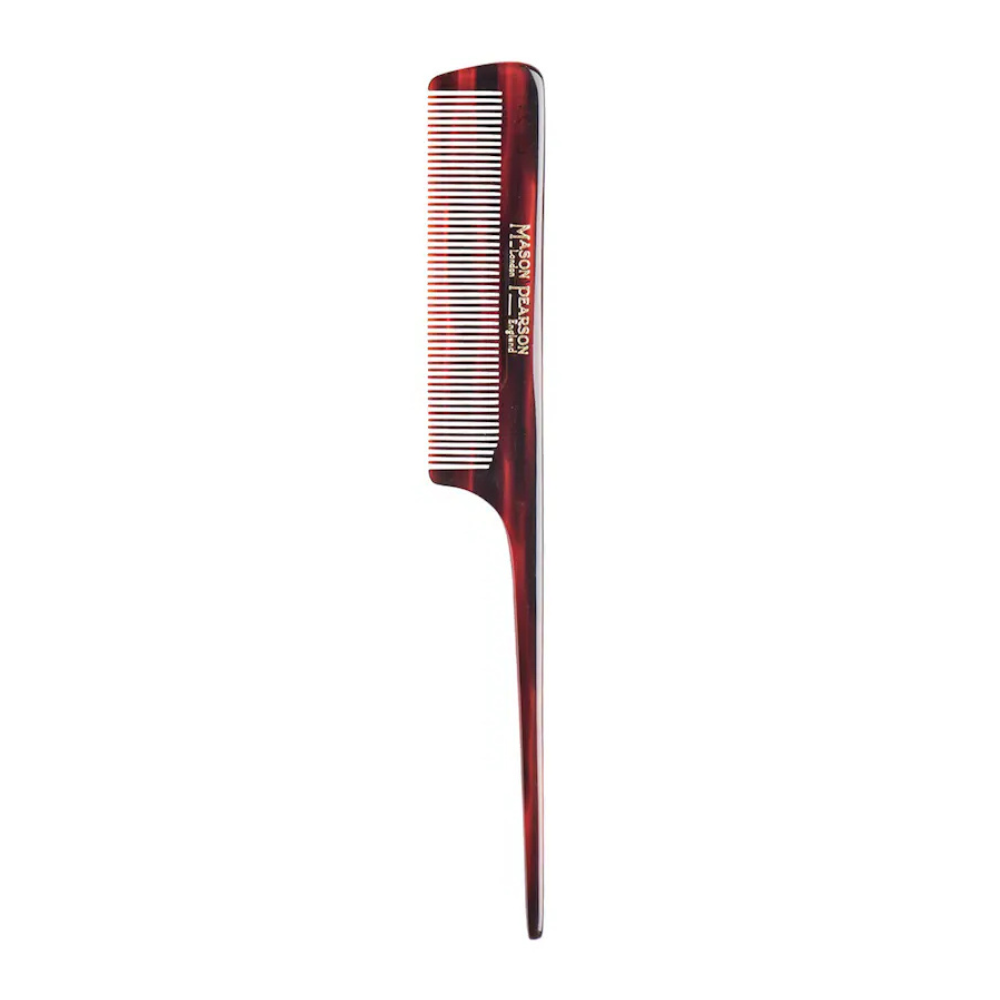
Mason Pearson
Tail Comb C3
2. Section Hair
Brush through your hair to remove any tangles or knots. Then, to begin your French braid, create a triangle-shaped section at the top of your hair and divide the section into three equal-sized sections.
3. Begin Plaiting
Start plaiting by swapping the left side with the middle section, and then crossing the right section with the middle to start the French braid.
4. Add Hair to Each Section
You want to continue plaiting, but add another piece of hair to each section as you braid, repeating the motion and gradually adding more hair as you go. For a French braid, you want to move the hair over the middle section with each crossover. For a Dutch braid, you can move the sections under the middle section, which results in a more prominent braid that sits outwards from the head. A French braid will sit closer to your head.
5. Keep Braiding
Continue adding more hair into each section as you go, as you reach the nape of your neck, you'll probably have added the remainder of your hair into the braid, and you can continue plaiting the rest of the length as you would with a standard plait. Secure the ends with a hair tie to finish.
6. Pull Out Pieces
You can loosen some face-framing layers and tendrils to make the French braid feel more effortless, and also gently pull at sections to make the braid more voluminous and less perfect. I like to finish with a light mist of hairspray to help the braid stay secure, but you could also add a hair serum or hair oil to the ends, mist through a texturising spray for a messier and undone finish, or use a curl cream to define any loose curls or waves you've pulled out.
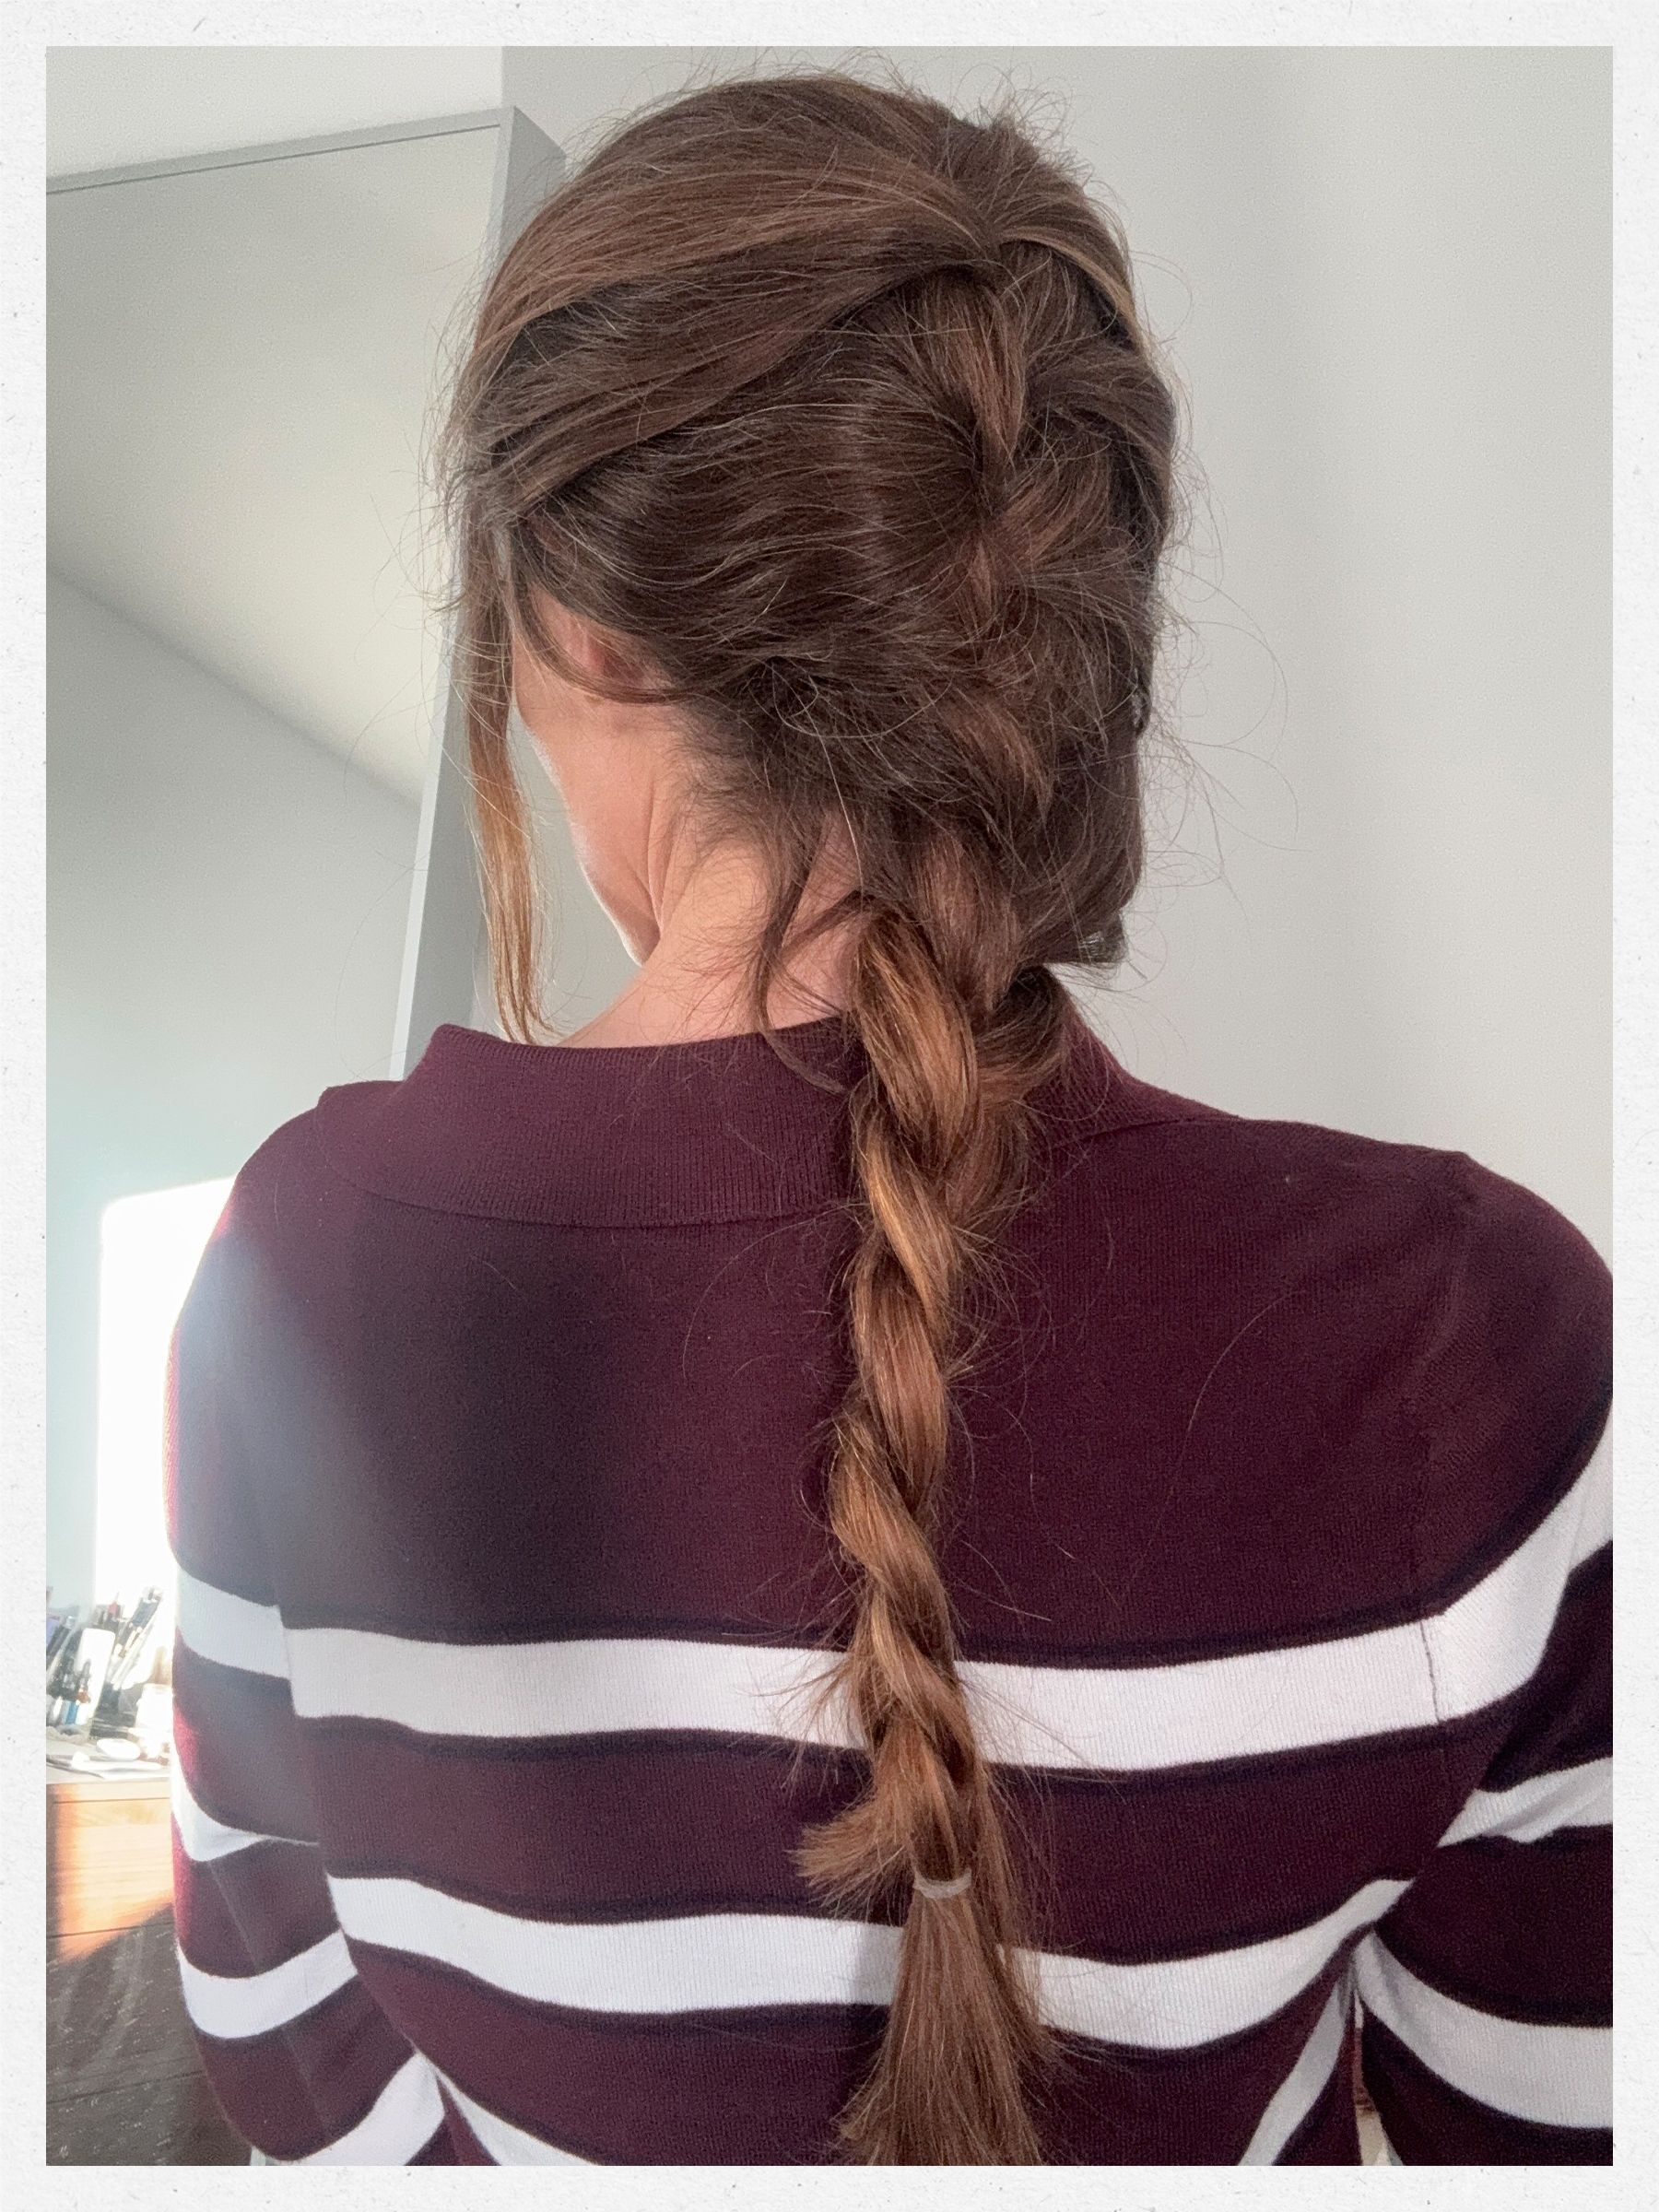
The Result
And there you have your French braid. You can experiment with the amount of hair you add to each section, which will affect the overall appearance of your braid. It's a style that definitely takes a bit of practice initially, but is so easy once you have the hang of the technique.
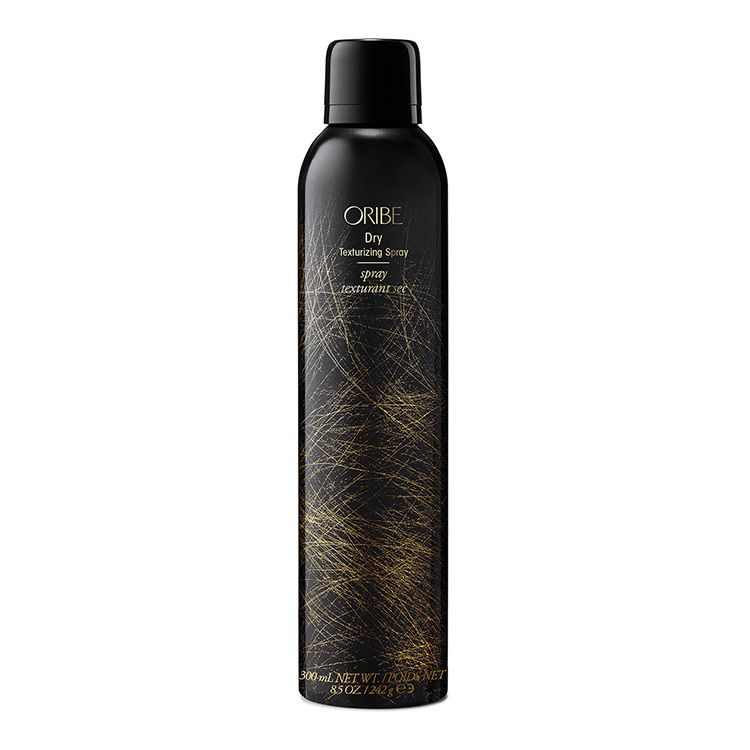
Oribe
Dry Texturizing Spray
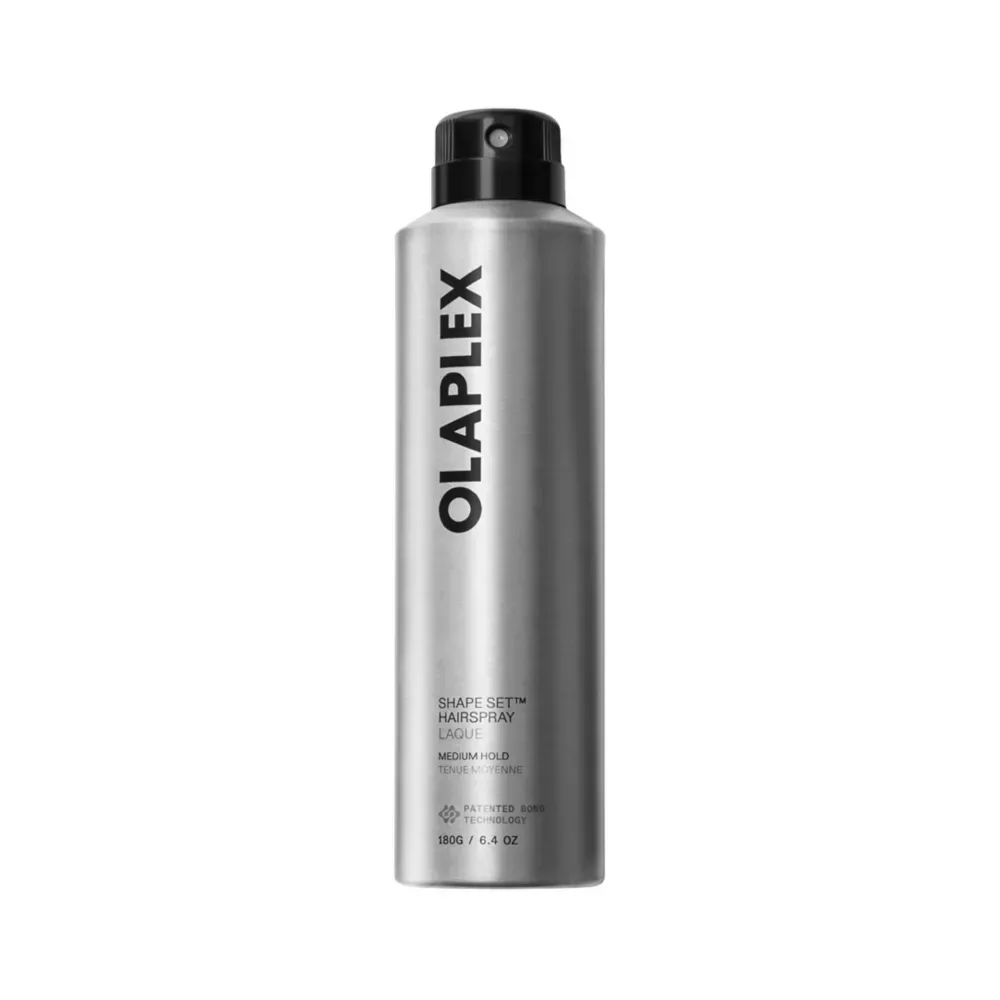
OLAPLEX
Shape Set Hairspray
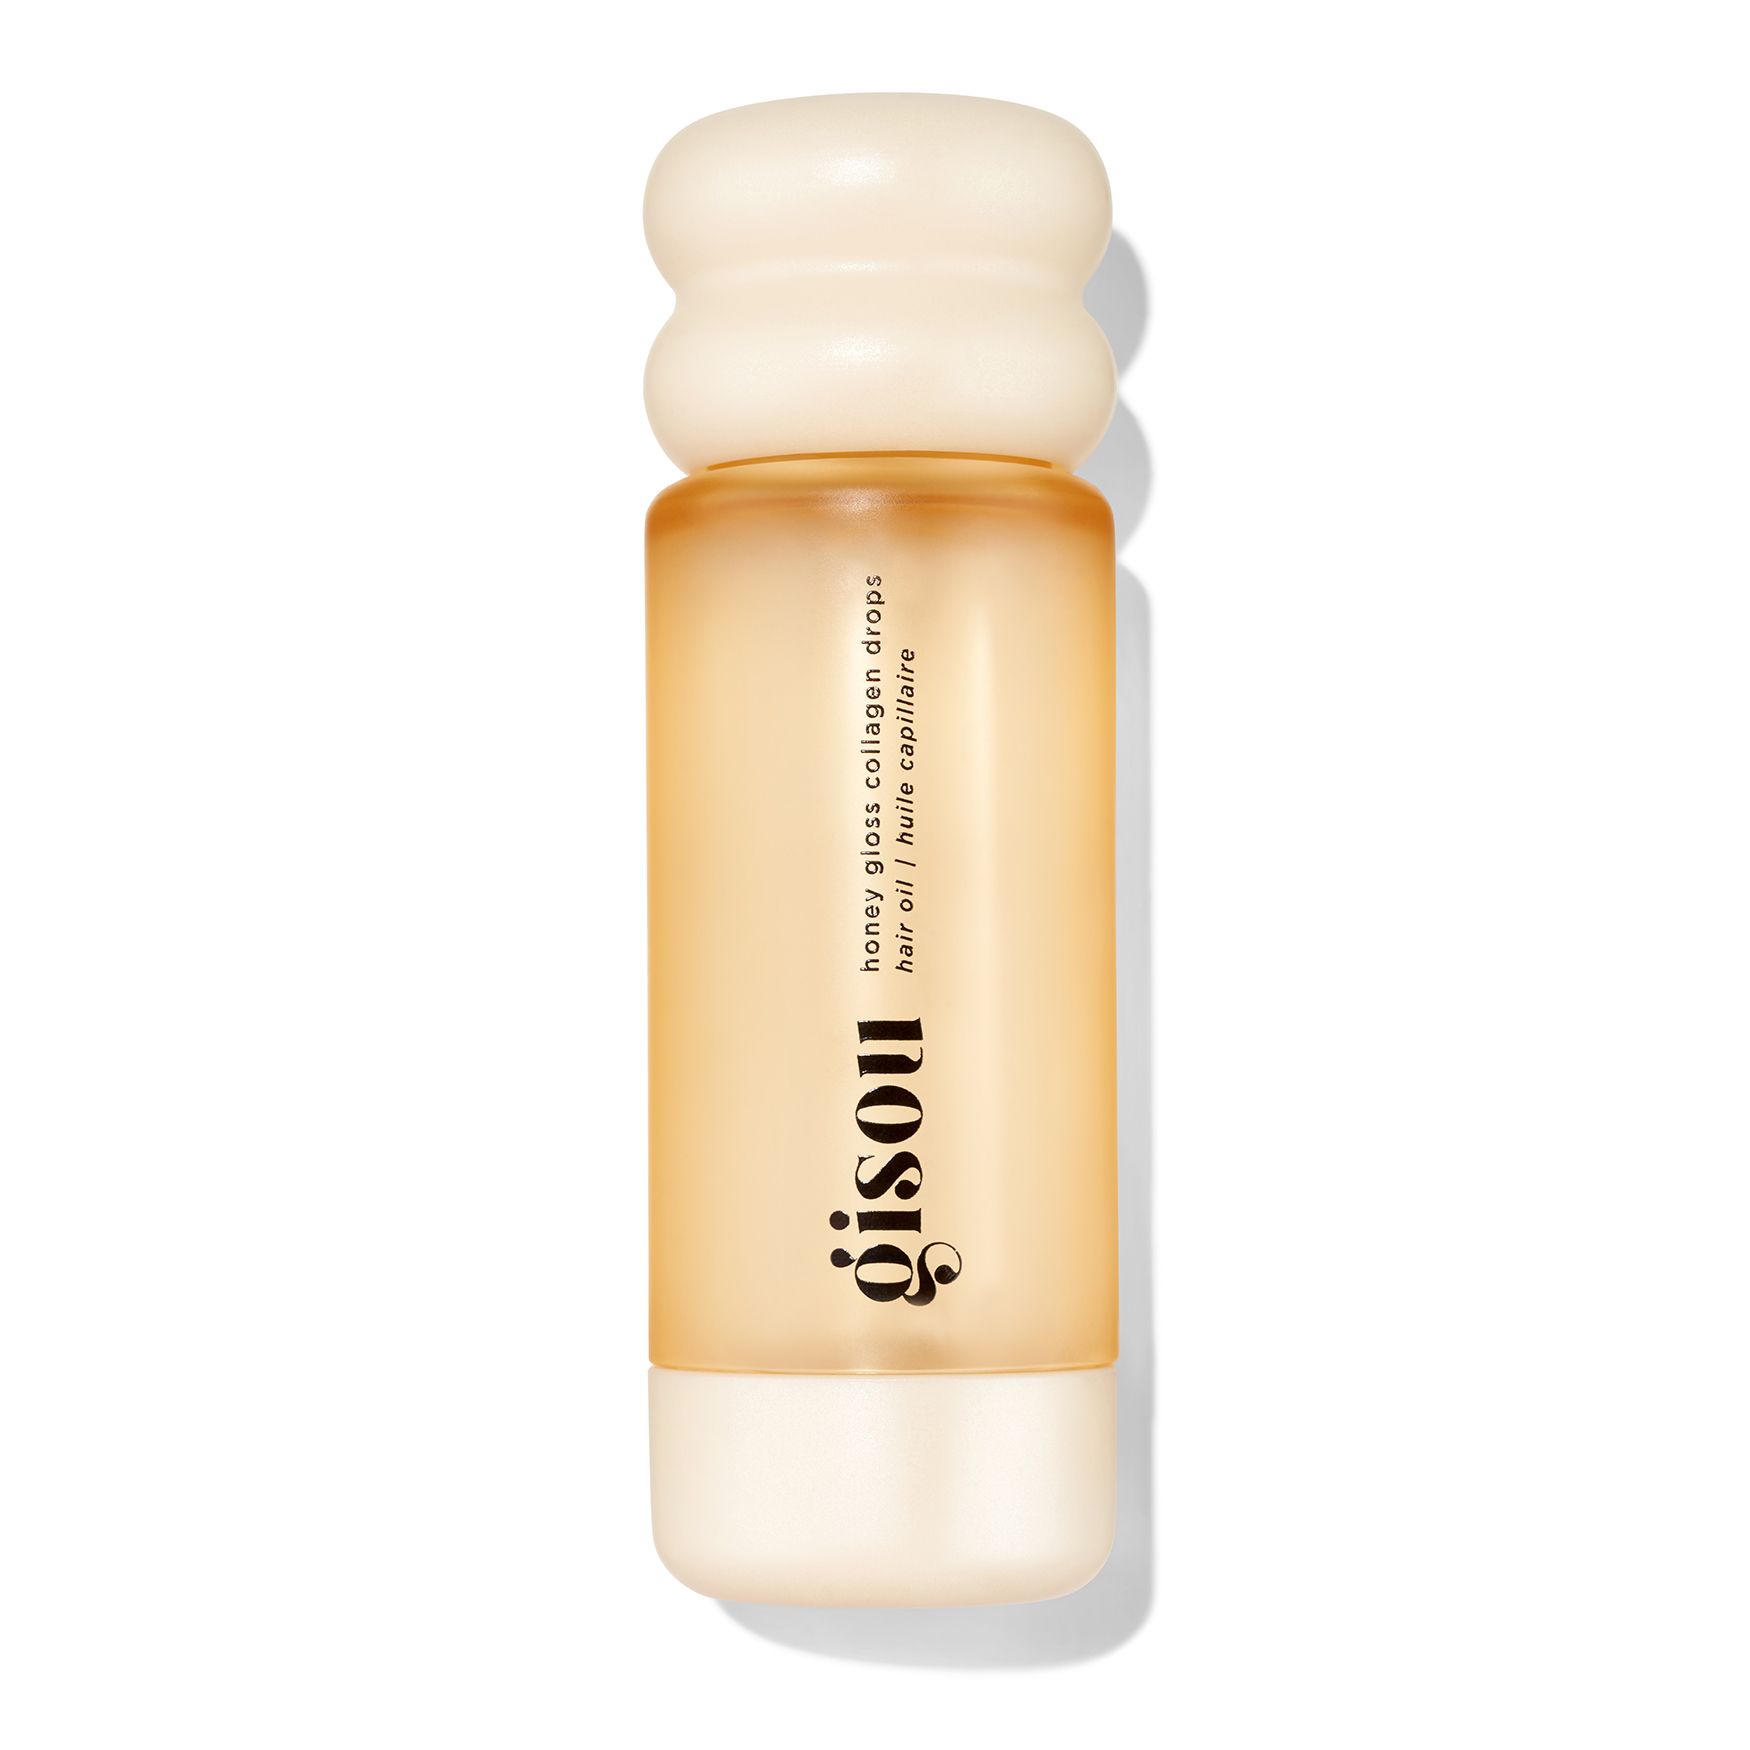
Gisou
Honey Gloss Hair Oil
Originally published by whowhatwear.com. Syndicated material does not necessarily reflect the views of Glamour Canada.